Convert Physical SIM to eSIM: Easy Step-by-Step Guide
Learn how to convert physical SIM to eSIM with this easy step-by-step guide for iPhone and Android devices. We cover everything from checking device compatibility and prerequisites to activation, troubleshooting, and best practices, so you can seamlessly stay connected after the switch.

Learn how to convert physical SIM to eSIM with this easy step-by-step guide for iPhone and Android devices. We cover everything from checking device compatibility and prerequisites to activation, troubleshooting, and best practices, so you can seamlessly stay connected after the switch.
Switching to an eSIM is becoming one of the easiest ways to get connected to the internet, which is why more and more travellers and everyday users are moving away from traditional plastic SIM cards.
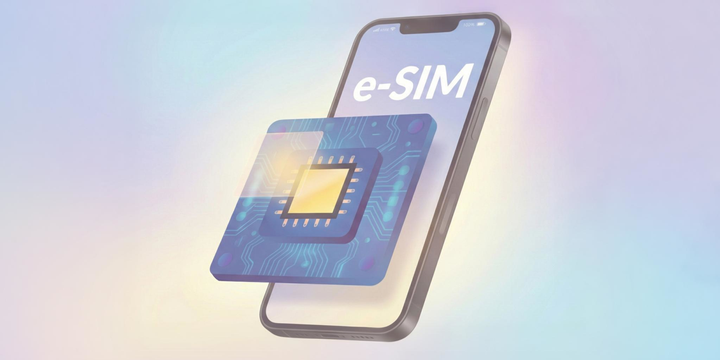
An eSIM (embedded SIM) is a digital version of your mobile SIM that’s built directly into your device, allowing you to activate a plan without swapping any physical cards at all. For many people, the decision to convert physical SIM to eSIM comes down to pure convenience: faster setup, fewer moving parts, better security, and the flexibility to use multiple plans on one device.
The real benefit is how seamless life becomes when you no longer rely on tiny pieces of plastic to manage your mobile service. With an eSIM, you can add or switch plans instantly, keep your number active while travelling, and avoid the hassle of queues or SIM tray tools.
In this guide, we’ll walk you through everything you need to know to convert physical SIM to eSIM, from checking device compatibility to converting your SIM on iPhone or Android. Plus, we'll include common troubleshooting tips and what to expect after the switch.
Before You Begin: Key Prerequisites
Before you start the process, it’s important to check a few essentials so you know exactly what does convert to eSIM mean and whether your device is ready. First, make sure your phone supports eSIM technology. Some older models don't. Most recent iPhones, Google Pixel devices, and many Samsung phones are compatible, but it’s worth confirming before you try to convert physical SIM to eSIM.
Next, check with your mobile operator, because not every carrier supports SIM-to-eSIM conversion. If your provider doesn’t offer eSIM services, you won’t be able to proceed, even if your phone itself is compatible. It’s also possible that very old SIM cards issued years ago won’t meet the requirements needed for conversion, so you may need a replacement SIM first.
Finally, ensure your device is running the latest software version, as older operating systems may not show the option or may cause issues during setup. Once these basics are covered, you’ll be ready to move on to the actual steps of how to convert SIM to eSIM smoothly and without surprises!
Step-by-Step Guide to Convert Physical SIM to eSIM
Converting your physical SIM to an eSIM may sound tricky, but it’s actually straightforward once you know the steps for your device. Below, we break it down by device type so you can follow along easily and understand exactly how to transfer physical SIM to eSIM or how to transfer SIM to eSIM.
Convert SIM to eSIM on iPhone
Open Settings and go to Cellular (or Mobile Data).
Select your active SIM plan and tap Convert to eSIM.
Follow the on-screen instructions to confirm and activate your eSIM.
Once the conversion is complete, you can remove your physical SIM if you wish.
With an iPhone, the process is quick, and your number remains active during the switch. If your carrier requires it, you may also have the option to scan a QR code to complete activation. This is the simplest way to convert physical SIM to eSIM on Apple devices.
Additionally, if you’re upgrading or switching iPhones, you can follow these steps on how to transfer an eSIM from one iPhone to another, so your number and plan move seamlessly to your new device.
Convert SIM to eSIM on Android / Samsung / Pixel
Samsung Devices
Open Settings > Connections > SIM Card Manager.
Select the SIM you want to convert and tap Convert to eSIM (if available).
Follow the instructions to complete activation.
Some carriers may require scanning a QR code or entering an activation code.
Other Android Devices (e.g., Google Pixel)
Open Settings > Network & Internet > SIMs.
Select your active SIM and choose Convert to eSIM or Download SIM (depending on your device).
Follow the on-screen steps to activate the eSIM.
Remove the physical SIM if desired, or keep it as a backup if your device supports dual SIMs.
As you see, it’s easy to convert physical SIM to eSIM on most Android devices. Once the process is complete, your device is ready to use eSIM for data, calls, and messaging without relying on a physical SIM card.

Troubleshooting Common Issues
Even though converting your SIM card to eSIM is usually straightforward, you may encounter a few hiccups along the way. Here are some common issues and how to fix them:
1. No “Convert to eSIM” option
If you don’t see the “Convert to eSIM” option on your device, it may be because your carrier doesn’t support the feature or your phone isn’t compatible. Check with your provider to see if your plan allows you to how to convert sim to esim.
2. Conversion fails / activation stuck
Sometimes the sim card to eSIM conversion doesn’t complete immediately. If activation gets stuck, contact your carrier for support on how to transfer sim card to esim. Some conversions can take a few hours to fully process.
3. QR code scanning problems
If your phone struggles to scan the QR code, try cleaning the camera lens or manually entering the activation code provided by your carrier. This is a common workaround when learning how to convert to esim.
4. Carrier-side limitations
Certain carriers only allow eSIMs for new lines rather than converting existing physical SIMs. Always confirm your carrier’s policy before attempting to learn how to transfer physical sim to esim, so you know whether your current SIM can be switched digitally.
What Happens After Conversion
Once you complete the process of how to transfer sim card to esim, your physical SIM is typically deactivated, and your eSIM becomes the primary line on your device. This means all calls, texts, and data now run through the eSIM, making your connection fully digital.
Many modern devices support dual SIM functionality, so you can use both your eSIM and a physical SIM at the same time. This is especially handy for travellers who want to keep their home number active while using a local eSIM, and it’s a key benefit of knowing how to transfer sim to esim properly.
If you ever need to revert back, some carriers allow you to switch your eSIM back to a physical SIM. However, this usually requires contacting your provider directly, so it’s worth understanding your options before learning how to convert to esim.

Pros & Cons of Converting to eSIM
Converting your physical SIM to an eSIM is becoming increasingly popular, especially for travellers and anyone looking for a more convenient mobile setup.
Understanding the advantages and potential drawbacks can help you decide if this digital upgrade is right for you and guide you in how to transfer sim card to esim effectively.
Pros
Easier setup / no physical card needed - Once you learn how to transfer sim to esim, activating your plan is much faster, and there’s no need to fumble with tiny SIM cards.
Support for multiple profiles on a single device – Many devices allow several eSIMs to coexist, so you can manage personal and work numbers, or multiple travel plans, on the same phone.
Great for travel – You can easily add a travel eSIM while keeping your main number active, making roaming stress-free.
Environmental benefit – Fewer plastic SIM cards mean less waste, making eSIMs a greener option.
Cons
Not all carriers support it yet – Some operators may still require a physical SIM, so check before you try to convert physical SIM to eSIM.
Restoring eSIMs can be tricky – If you deactivate or delete an eSIM, reactivating it may require carrier assistance.
Limits on eSIM profiles – Some devices or carriers limit how many eSIMs you can store, which could be a concern for frequent travellers juggling multiple plans.
As you can see, converting to eSIM offers significant convenience and flexibility, but it’s important to weigh these pros and cons before deciding how to transfer your SIM card to eSIM.
If you’re looking for even more reasons to make the switch, check out these benefits of eSIMs for world travellers.
Best Practices & Tips
To make the most of your eSIM experience and avoid potential issues when you convert physical SIM to eSIM, follow these best practices:
Back up your phone before converting – Always save your contacts, apps, and settings just in case anything goes wrong during the process.
Activate your eSIM while on Wi-Fi – A stable connection ensures smoother activation when you how to convert sim to esim.
Label your eSIM plan in settings – Especially useful if you plan to store multiple profiles, so you can easily identify your travel or work lines.
Ask your carrier for a QR code or activation code – Keep this handy for future use if you need to reinstall or transfer your eSIM.
Use Jetpac or a trusted provider for travel eSIMs – For travellers, choosing the best eSIM for international travel ensures reliable connectivity and avoids roaming fees.
Check your plan’s data limits and validity – When using an eSIM for international travel, knowing your limits prevents unexpected charges and keeps you connected abroad.
By following these tips, you get the most out of your digital SIM experience, whether for everyday use or international travel.

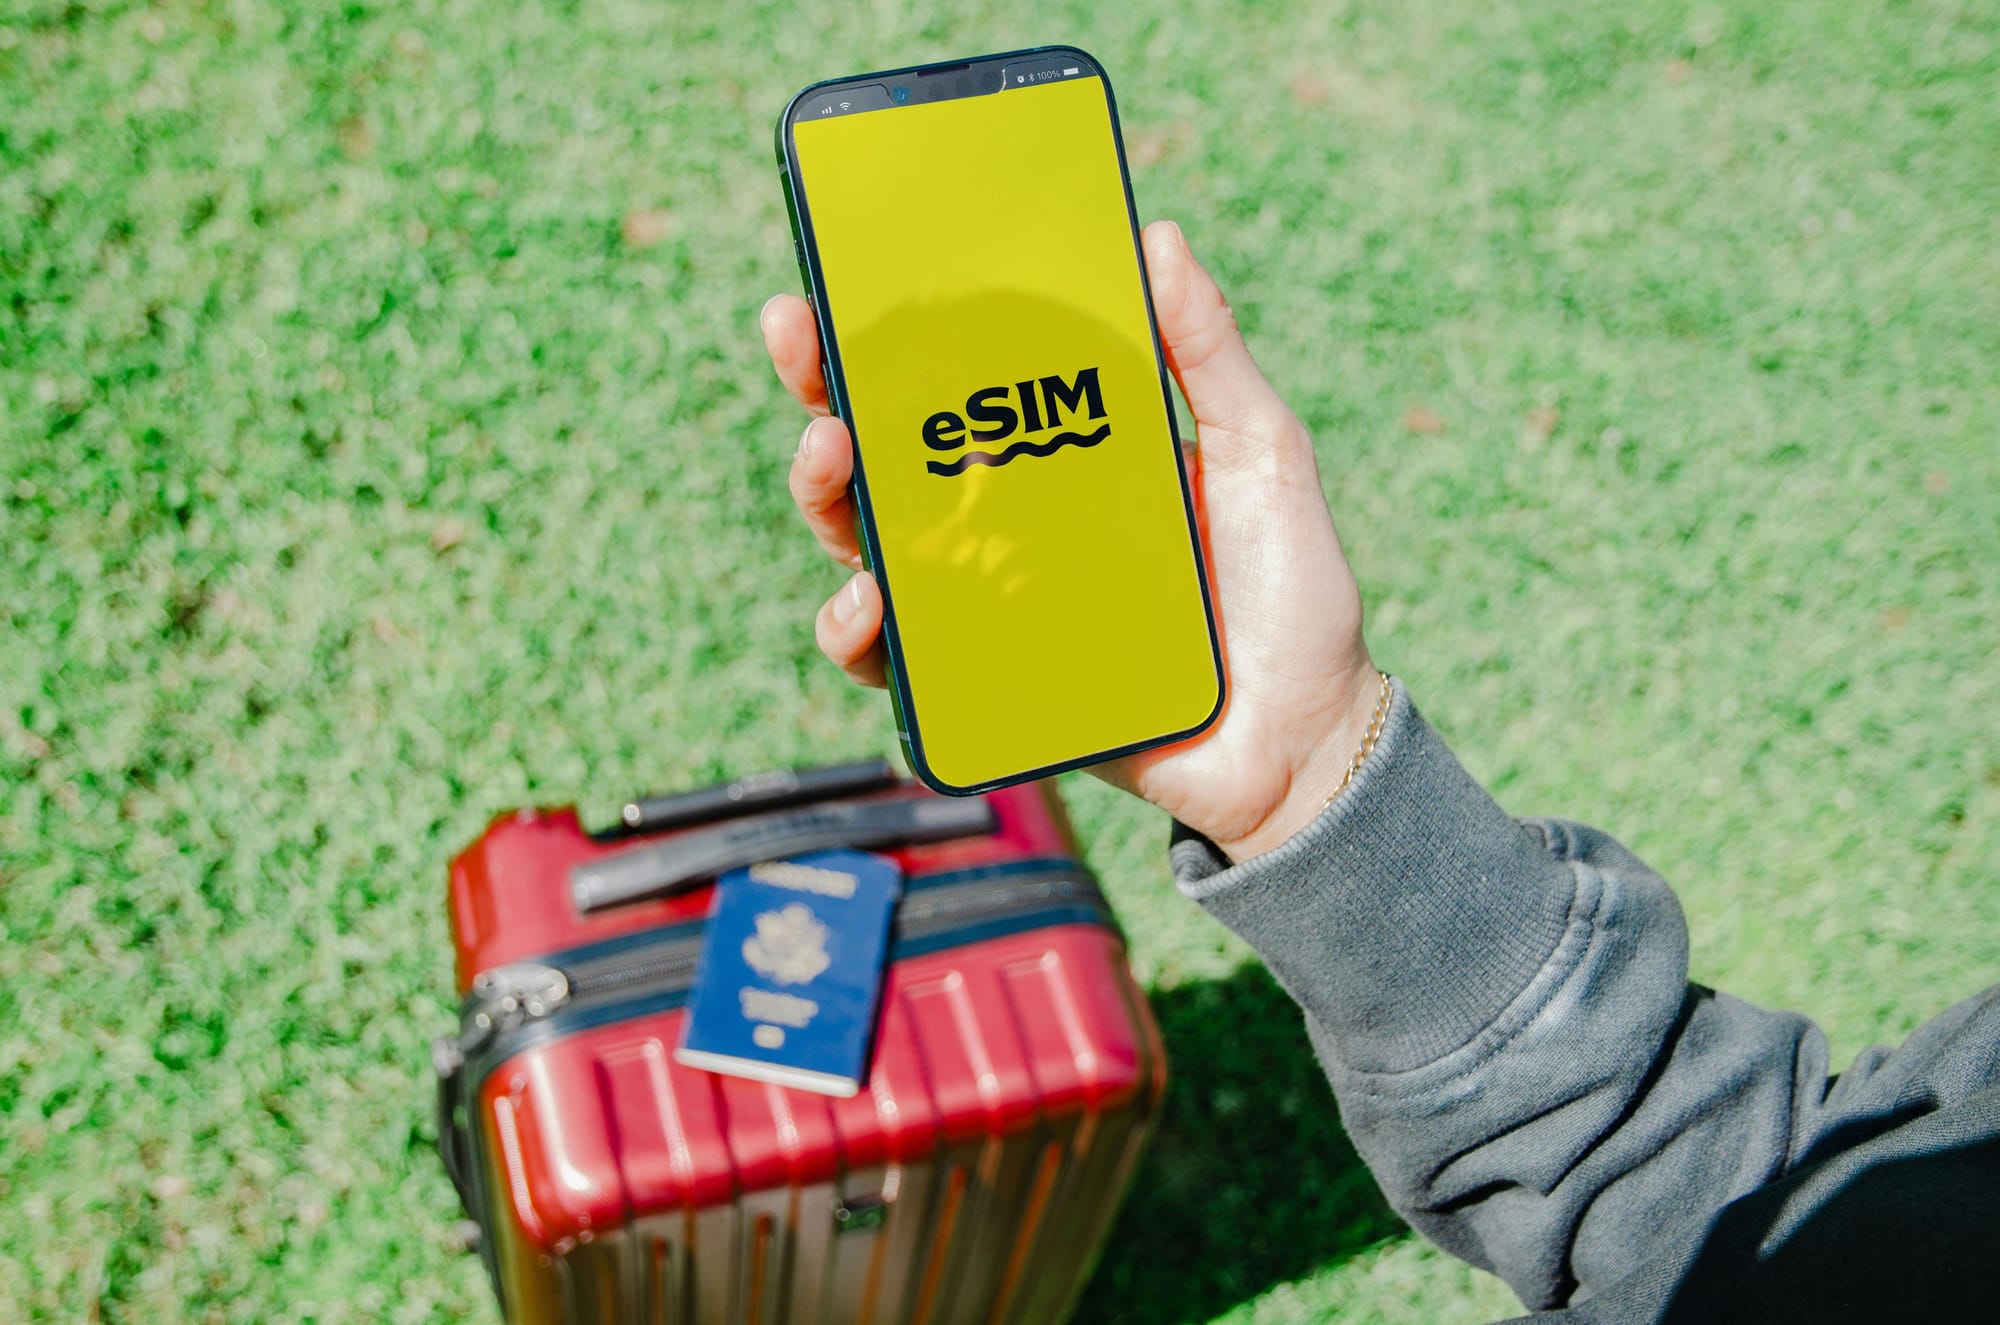
Traveling Soon? Jetpac eSIM Keeps You Connected Without the Stress
If you’d rather skip the airport SIM queues and the hassle of swapping physical SIM cards on the go, Jetpac eSIM makes travel a whole lot easier. As an eSIM for international travel, it lets you activate your plan before you leave home, so the moment you land, your phone connects instantly. No hunting for kiosks, no language barriers, and no fiddling with SIM trays in the back of a taxi.
Jetpac also solves the biggest pain point of physical SIM cards: keeping your number active. With an international eSIM, you don’t have to give up your primary SIM just to get local data overseas. Jetpac runs digitally in the background, letting you stay online while still receiving calls and texts on your usual number. It’s cleaner, faster, and far more convenient than carrying tiny bits of plastic around or hoping you don’t lose your home SIM.
On top of that, Jetpac offers reliable high-speed coverage, transparent pricing, and flexible plans for both short trips and longer adventures. If you’re looking for the best eSIM for international travel, Jetpac stands out for its simplicity and stress-free setup. There’s no hardware, no roaming fees, and no complicated steps! Enjoy quick activation, strong connectivity, and the freedom to travel without juggling physical SIMs. For travellers who value convenience, Jetpac international eSIM is simply the smarter choice.
FAQs
What does convert to esim mean?
To convert to eSIM means switching your physical SIM card to a digital SIM embedded in your device. This allows you to activate a mobile plan without using a physical card, making it easier to manage multiple lines, travel plans, or data plans on the same phone.
Can I convert multiple SIMs to eSIM?
Yes, you can transfer SIM to eSIM for more than one mobile line as long as your device supports multiple eSIM profiles. Most modern smartphones allow several eSIMs to be stored, though only one or two can be active at a time.
Is it safe to convert my SIM card to eSIM?
Absolutely. Converting your SIM card to eSIM is secure, and your phone number, messages, and data remain intact. Just make sure to follow your carrier’s instructions carefully when learning how to convert sim to esim to avoid activation issues.
Is the SIM to eSIM conversion free?
Whether converting a SIM card to eSIM is free depends on your carrier. Many providers offer the service at no cost, while others may charge a small activation fee.
How long does conversion take?
The process to transfer SIM to eSIM usually takes just a few minutes. Once you scan the QR code or follow your carrier’s setup steps, activation is typically instant.
What if I switch devices later?
If you change phones, you can usually move your SIM card to eSIM profile by reinstalling it or requesting a new QR code from your carrier. Some devices even support eSIM transfer directly through settings.
Do I need to remove my physical SIM after switching to eSIM?
After you transfer SIM to eSIM, you can remove the physical SIM if you no longer need it. However, some travellers keep it inserted for backup or dual-SIM use, as most devices support running both at the same time.