How to Install an eSIM on Any Compatible Device
Dive into how to install an eSIM and how to check if your device is eSIM compatible with our handy guide.
Author: Daniella Schoeman (travel, tourism & hospitality writer)
27 June 2024
The world is quickly adopting eSIM technology for its perks and adaptability. By 2025, we expect over 3 billion eSIMs to be used.
This change marks a significant step in our digital journey. If you're weary of traditional SIM cards and want a smooth connection, switching to an eSIM is wise.
We'll guide you through adding an eSIM to your gadget, making connectivity easy and customizable.
You'll finally have the independence to connect how you prefer.
When to Install Your eSIM
Before Travel: Setting up your eSIM ahead of your journey is smart. You prep everything and have access to data the moment you arrive. This way, you're ready to go as soon as you land.
During Trip: Did you forget to install it earlier? No problem! You can do it during your journey. This works well if you're switching data plans or not certain about your stay's length. But, make sure you can get online for the setup.
Timing your eSIM setup is crucial for a hassle-free process. It doesn't matter if you do it before you go or once you've started your trip.
Either way, it leads to a trouble-free eSIM activation.
Check if Jetpac eSIMs Will Work on Your Device
Before you add a Jetpac eSIM to your device, make sure it can work with it. Not every device can use eSIM technology. It's wise to check first to avoid trouble when setting it up.
Jetpac offers a list of devices that can use its eSIM. This list makes sure you won't have any problems.
List of Jetpac Compatible Devices
|
Brand |
Compatible Devices |
|
Apple |
|
|
Samsung |
|
|
|
|
|
Huawei |
|
|
Others |
|
If you don't see your device listed, there's still hope. This list is good to check, but it might miss some compatible devices. For your device, you can contact us to see if it's compatible.
Getting your device okayed for a Jetpac eSIM ensures an easy setup and use. It prevents any snags, letting you smoothly use our services.
How to Install a Jetpac eSIM
We'll show you how to set up a Jetpac eSIM on your device.
Just follow the steps to create an account, pick the right eSIM package, buy your plan, and activate your eSIM. Then, you can start using Jetpac's eSIM services.
Sign Up and Get Started
Start by going to the Jetpac website or downloading our user-friendly app. Sign up for an account by filling in your info. Once you have your account, you can continue setting up your eSIM.
Choose Your Package
Next, pick the eSIM package that fits your needs. Jetpac has packages for all kinds of travel and data use. You can pick one that matches how you'll be using your eSIM.
Purchase Your Plan
After choosing, head to the payment page to buy your plan. Jetpac makes sure your payment is safe and easy. Once your purchase is through, you're almost ready to use your eSIM.
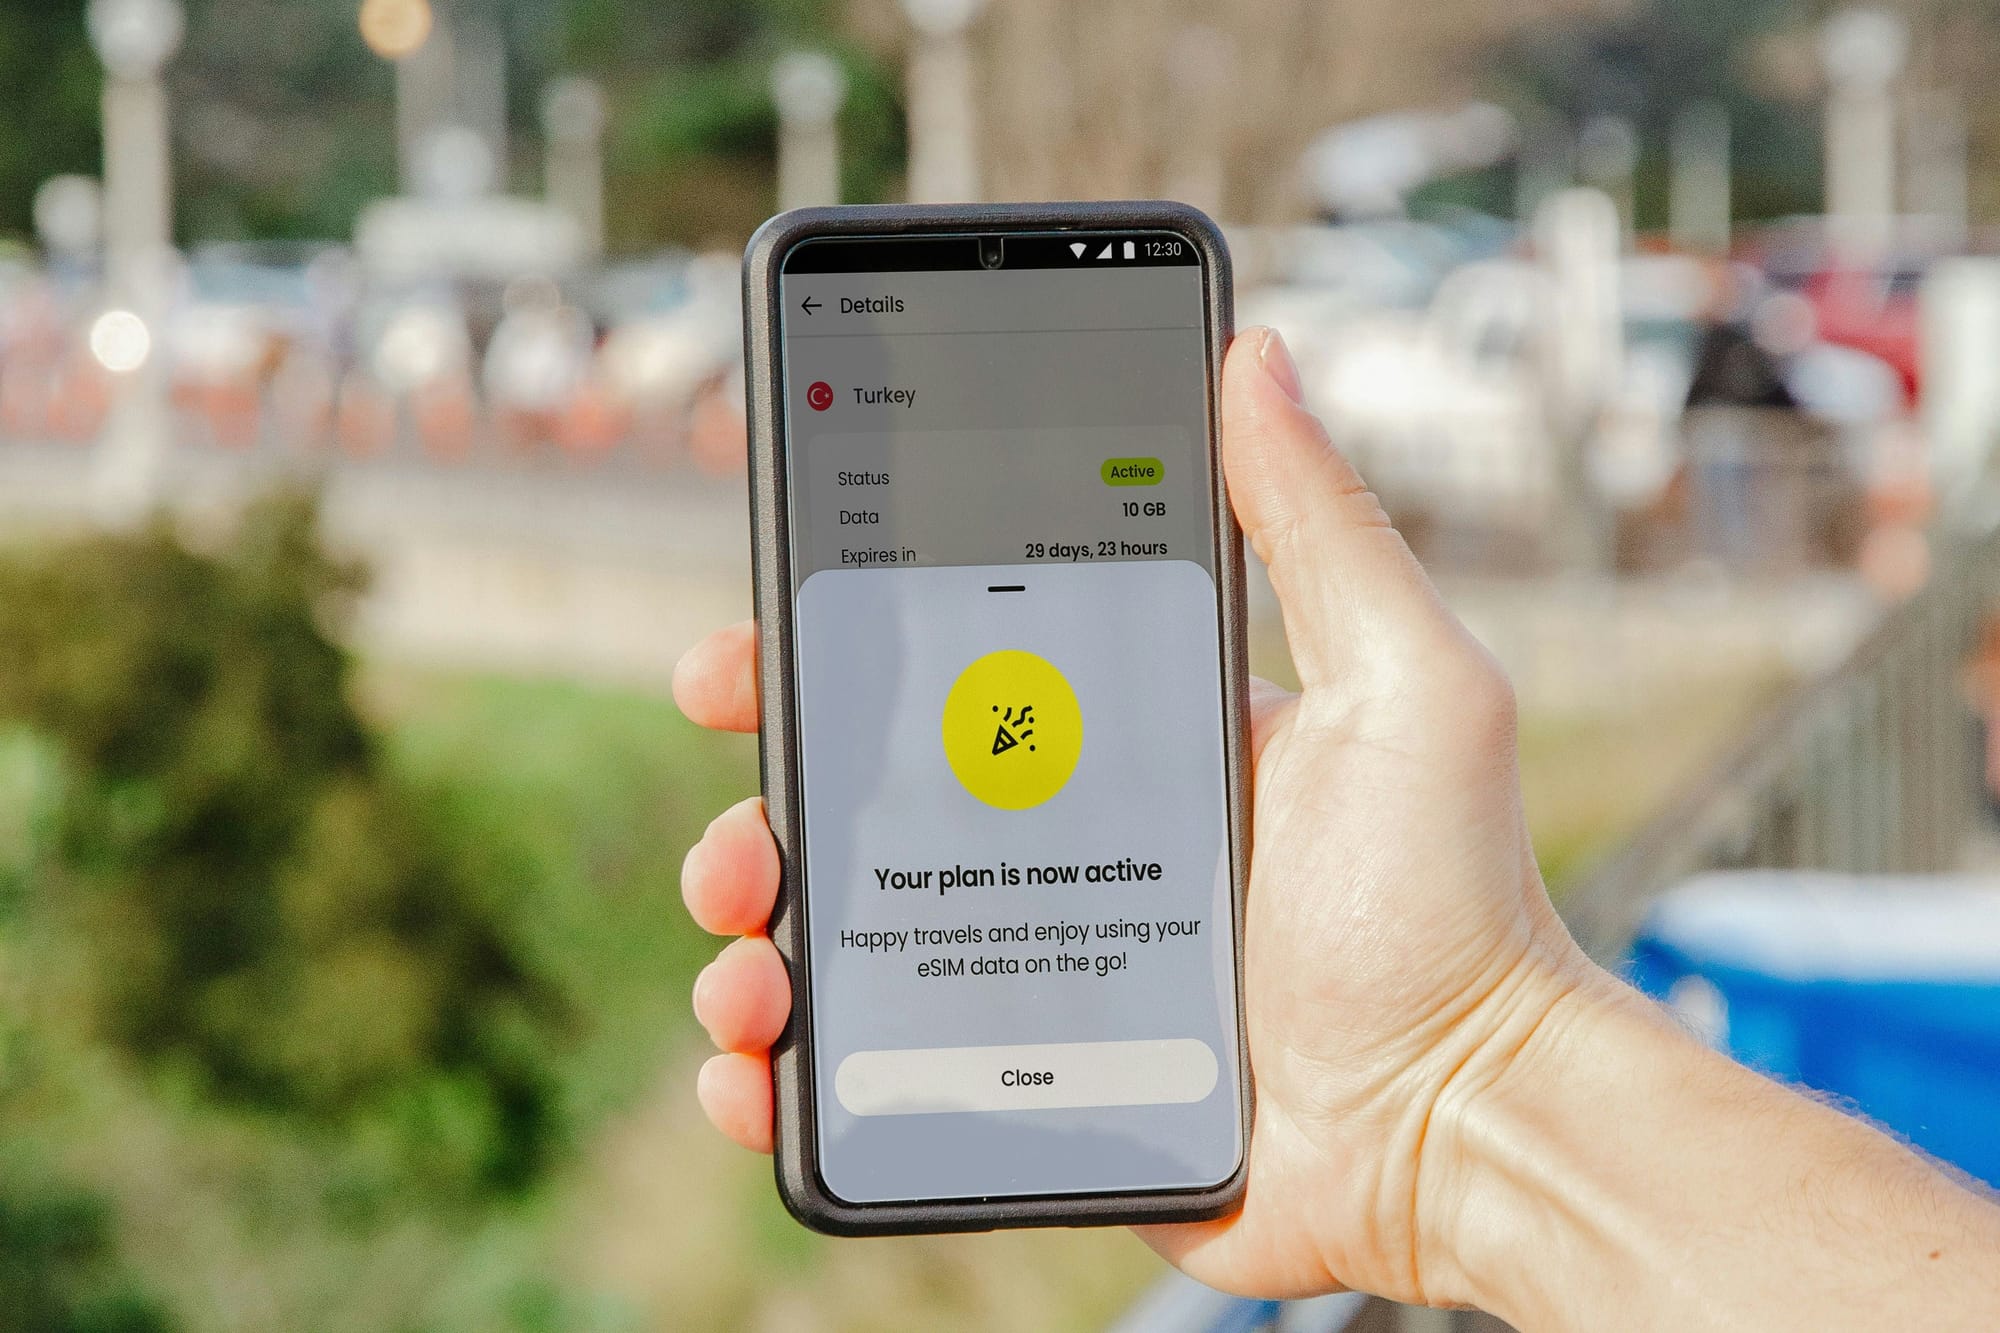
Activate and Install Your eSIM
Now it's time to set up your Jetpac eSIM. Follow Jetpac's steps to get it activated. This usually means scanning a QR code or typing in some numbers.
Then, you have to put the eSIM on your phone. The steps might differ a bit from device to device, so check the guides below. Just do what fits your device to finish up.
When you're done, your Jetpac eSIM is good to go. Enjoy the perks of a digital eSIM everywhere you travel. Forget about regular SIMs and welcome the era of eSIMs with Jetpac.
The 2 Options to Install a Jetpac eSIM
Jetpac offers two easy ways to set up their eSIM. You can either scan the QR code or do it manually. Both ways are simple, letting you quickly use your Jetpac eSIM on your device.
Scan the QR Code
To install your eSIM, start by scanning its QR code. Open your camera app, scan, and then follow the steps on your screen. This way is faster and less complicated since you don’t have to type anything.
Manual Activation
Choosing manual activation means entering details yourself. Jetpac guides you through this with all the info and steps you need. It's another way to ensure you can use your eSIM without trouble.
|
Installation Options |
Advantages |
|
QR Code Installation |
- Quick and easy - Eliminates manual entry - Hassle-free installation process |
|
Manual Activation |
- Provides control over the installation process - Suitable for those who prefer manual entry - Step-by-step instructions provided by Jetpac |
How to Manually Install a Jetpac eSIM on Your iPhone or iOS Device
For iPhone and iOS users, getting a Jetpac eSIM on your device is easy. Just follow our guide, and you'll be all set. Soon, you'll enjoy your device with a Jetpac eSIM.
Here's what you need to do to get a Jetpac eSIM on your iPhone or iOS device:
Open the "Settings" app on your device.
Select "Cellular" or "Mobile Data" from the list of options.
Tap on "Add Cellular Plan" or "Add Mobile Plan."
Choose "Enter Details Manually." This is the next step.
Fill in the activation code and QR code from Jetpac.
Tap "Add Cellular Plan" or "Add Mobile Plan." This finishes the setup.
Follow your device's steps to wrap up.
Once done, your Jetpac eSIM is ready to use for smooth connections.
Follow the steps we've laid out, and a Jetpac eSIM will be on your device in no time. Your iPhone or iOS device will gain the advantages of a digital SIM.
It's easy, and you'll be connected wherever you are.
How to Manually Install a Jetpac eSIM on Your Android Phone or Device
If you have an Android, installing a Jetpac eSIM is easy. By following our detailed instructions, you'll quickly have it up and running.
To install a Jetpac eSIM manually on Android, do the following:
Open the Settings app on your Android phone or tablet.
Navigate to the "Network & Internet" or "Connections" section.
Select "SIM card" or "SIM card & mobile networks."
Tap "Add mobile network" or "Add eSIM profile."
Choose to add a new eSIM profile.
Enter the eSIM activation code from Jetpac.
Review and confirm your details. Follow any final setup steps.
After you're done, your Android will work with Jetpac's eSIM. It's that simple to get connected.
Following these steps, setting up a Jetpac eSIM is straightforward. Then, dive into the benefits of a digital SIM card.
Enjoy the freedom Jetpac's eSIM brings!

Troubleshooting Jetpac eSIM Installation and Activation
In this section, we'll help you fix common issues with Jetpac eSIM.
No matter what you're facing, we aim to guide you to a successful eSIM start. Stick with us for expert advice on smooth setups.
Below are tips for when setting up your eSIM isn't going as planned:
eSIM activation issues: Trouble getting your Jetpac eSIM to work? First, check your internet connection. Make sure your eSIM profile is set up correctly. Then, restart your device. For more help, reach out to Jetpac customer service.
Connectivity problems: Finding it hard to stay connected with your Jetpac eSIM? Double-check your data plan and turn on mobile data. Sometimes, turning airplane mode on and off helps. If issues persist, ensure your device supports Jetpac eSIM networks. Contact Jetpac support for further help.
Error messages: Getting error messages? Write them down, including any codes. You can solve specific problems by looking at Jetpac's guides or getting in touch with their support.
Network recognition: Is your device not picking up the Jetpac network? First, try resetting network settings or restarting your phone. If it still doesn't work, contact Jetpac's customer service for help.
If other challenges pop up with your Jetpac eSIM, reach out to their support team. They're prepared to help, ensuring your Jetpac eSIM experience is stress-free.
How to Install an eSIM FAQs
Can I Add eSIM By Myself?
Yes, adding an eSIM to your device is simple. It’s a direct process and anyone can do it. Just follow the steps from your eSIM provider or our guide. With a few taps, your eSIM will be up and running.
How Do I Set Up eSIM on My Phone?
Here’s how to set up an eSIM on your phone:
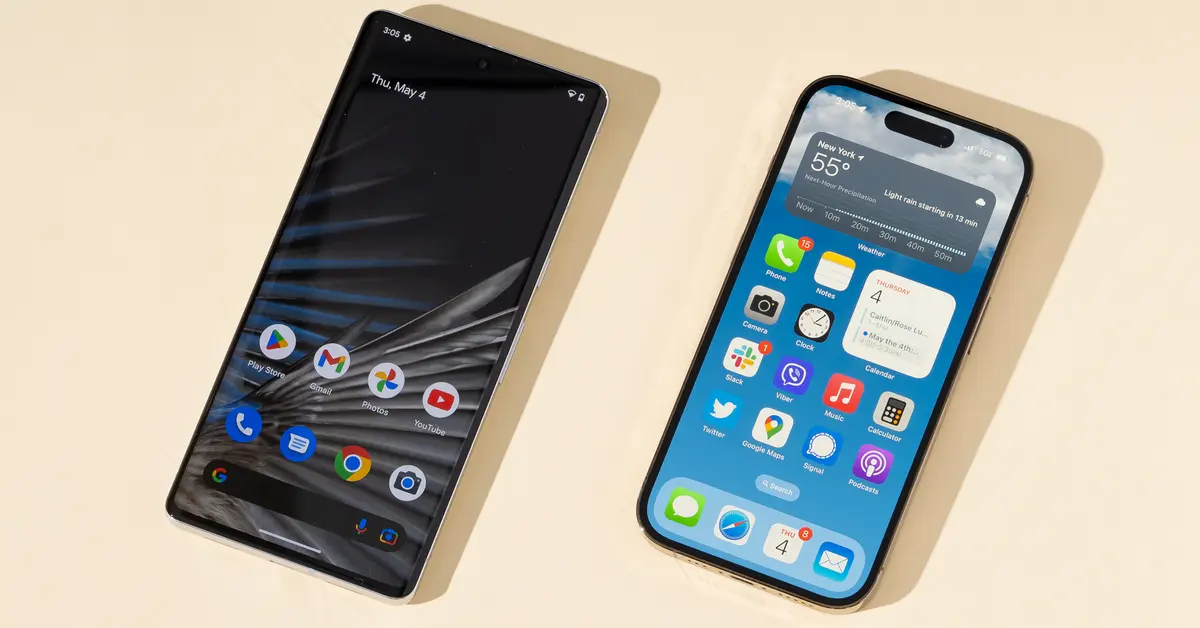
Check that your phone supports eSIM.
Get an eSIM QR code or activation details from your provider.
Go to your phone’s settings and find eSIM or cellular settings.
Tap on "Add eSIM" or similar.
Either scan the QR code or enter the details manually.
Complete the setup by following the steps on the screen.
After this, your eSIM will be ready to use.
Before you take out any physical SIM cards, make sure to activate your eSIM. This way, you won’t lose your connection.
Install Your Jetpac eSIM to Stay Connected
So, now you know how to install an eSIM on your device. It's simpler than assembling a piece of IKEA furniture and way more rewarding!
But let’s talk about why your next step should be installing a Jetpac eSIM.
With Jetpac, you're not just installing an eSIM; you're unlocking a treasure trove of connectivity perks.
Imagine instant activation without the tedious wait for a physical SIM card. Just a few taps, and boom—you're online and ready to explore the digital world, whether you're deep in the Amazon rainforest or wandering through Rome.
Jetpac eSIM ensures you’re always connected with high-speed data, wherever your adventures take you. No more frantic searches for Wi-Fi or dreaded roaming charges.
Plus, you can easily switch between profiles, making it perfect for balancing work emails with your social media escapades.
Traveling internationally? Jetpac eSIM keeps you seamlessly connected across borders. Share those jaw-dropping travel moments in real time, navigate new cities like a local, and keep your loved ones updated without missing a beat.
And here's the cherry on top: if your flight gets delayed, Jetpac offers free lounge access, turning your travel hiccup into a relaxing pit stop. Kick back, enjoy some complimentary snacks, and catch up on your favorite shows while you wait.
Installing a Jetpac eSIM means you get to enjoy uninterrupted, hassle-free connectivity. So go ahead, take the plunge, and let Jetpac be your trusty sidekick in staying connected.


 //
//
//
//
//
//